Create a new Figma project
https://www.youtube.com/watch?v=nZ57MPVbHUg <---------------------tutorial
Exercise 1:
Create a log in screen that includes a user name, password and icon.- Head to figma.com and sign in to your account.
![]()
- If you’re signing in for the first time, Figma will take you straight to a new file, which you can use for this exercise. If you’ve logged in previously, Figma will show you your recent files. If you’re on that screen, click the + arrow in the top-right to create a new file.
![]()
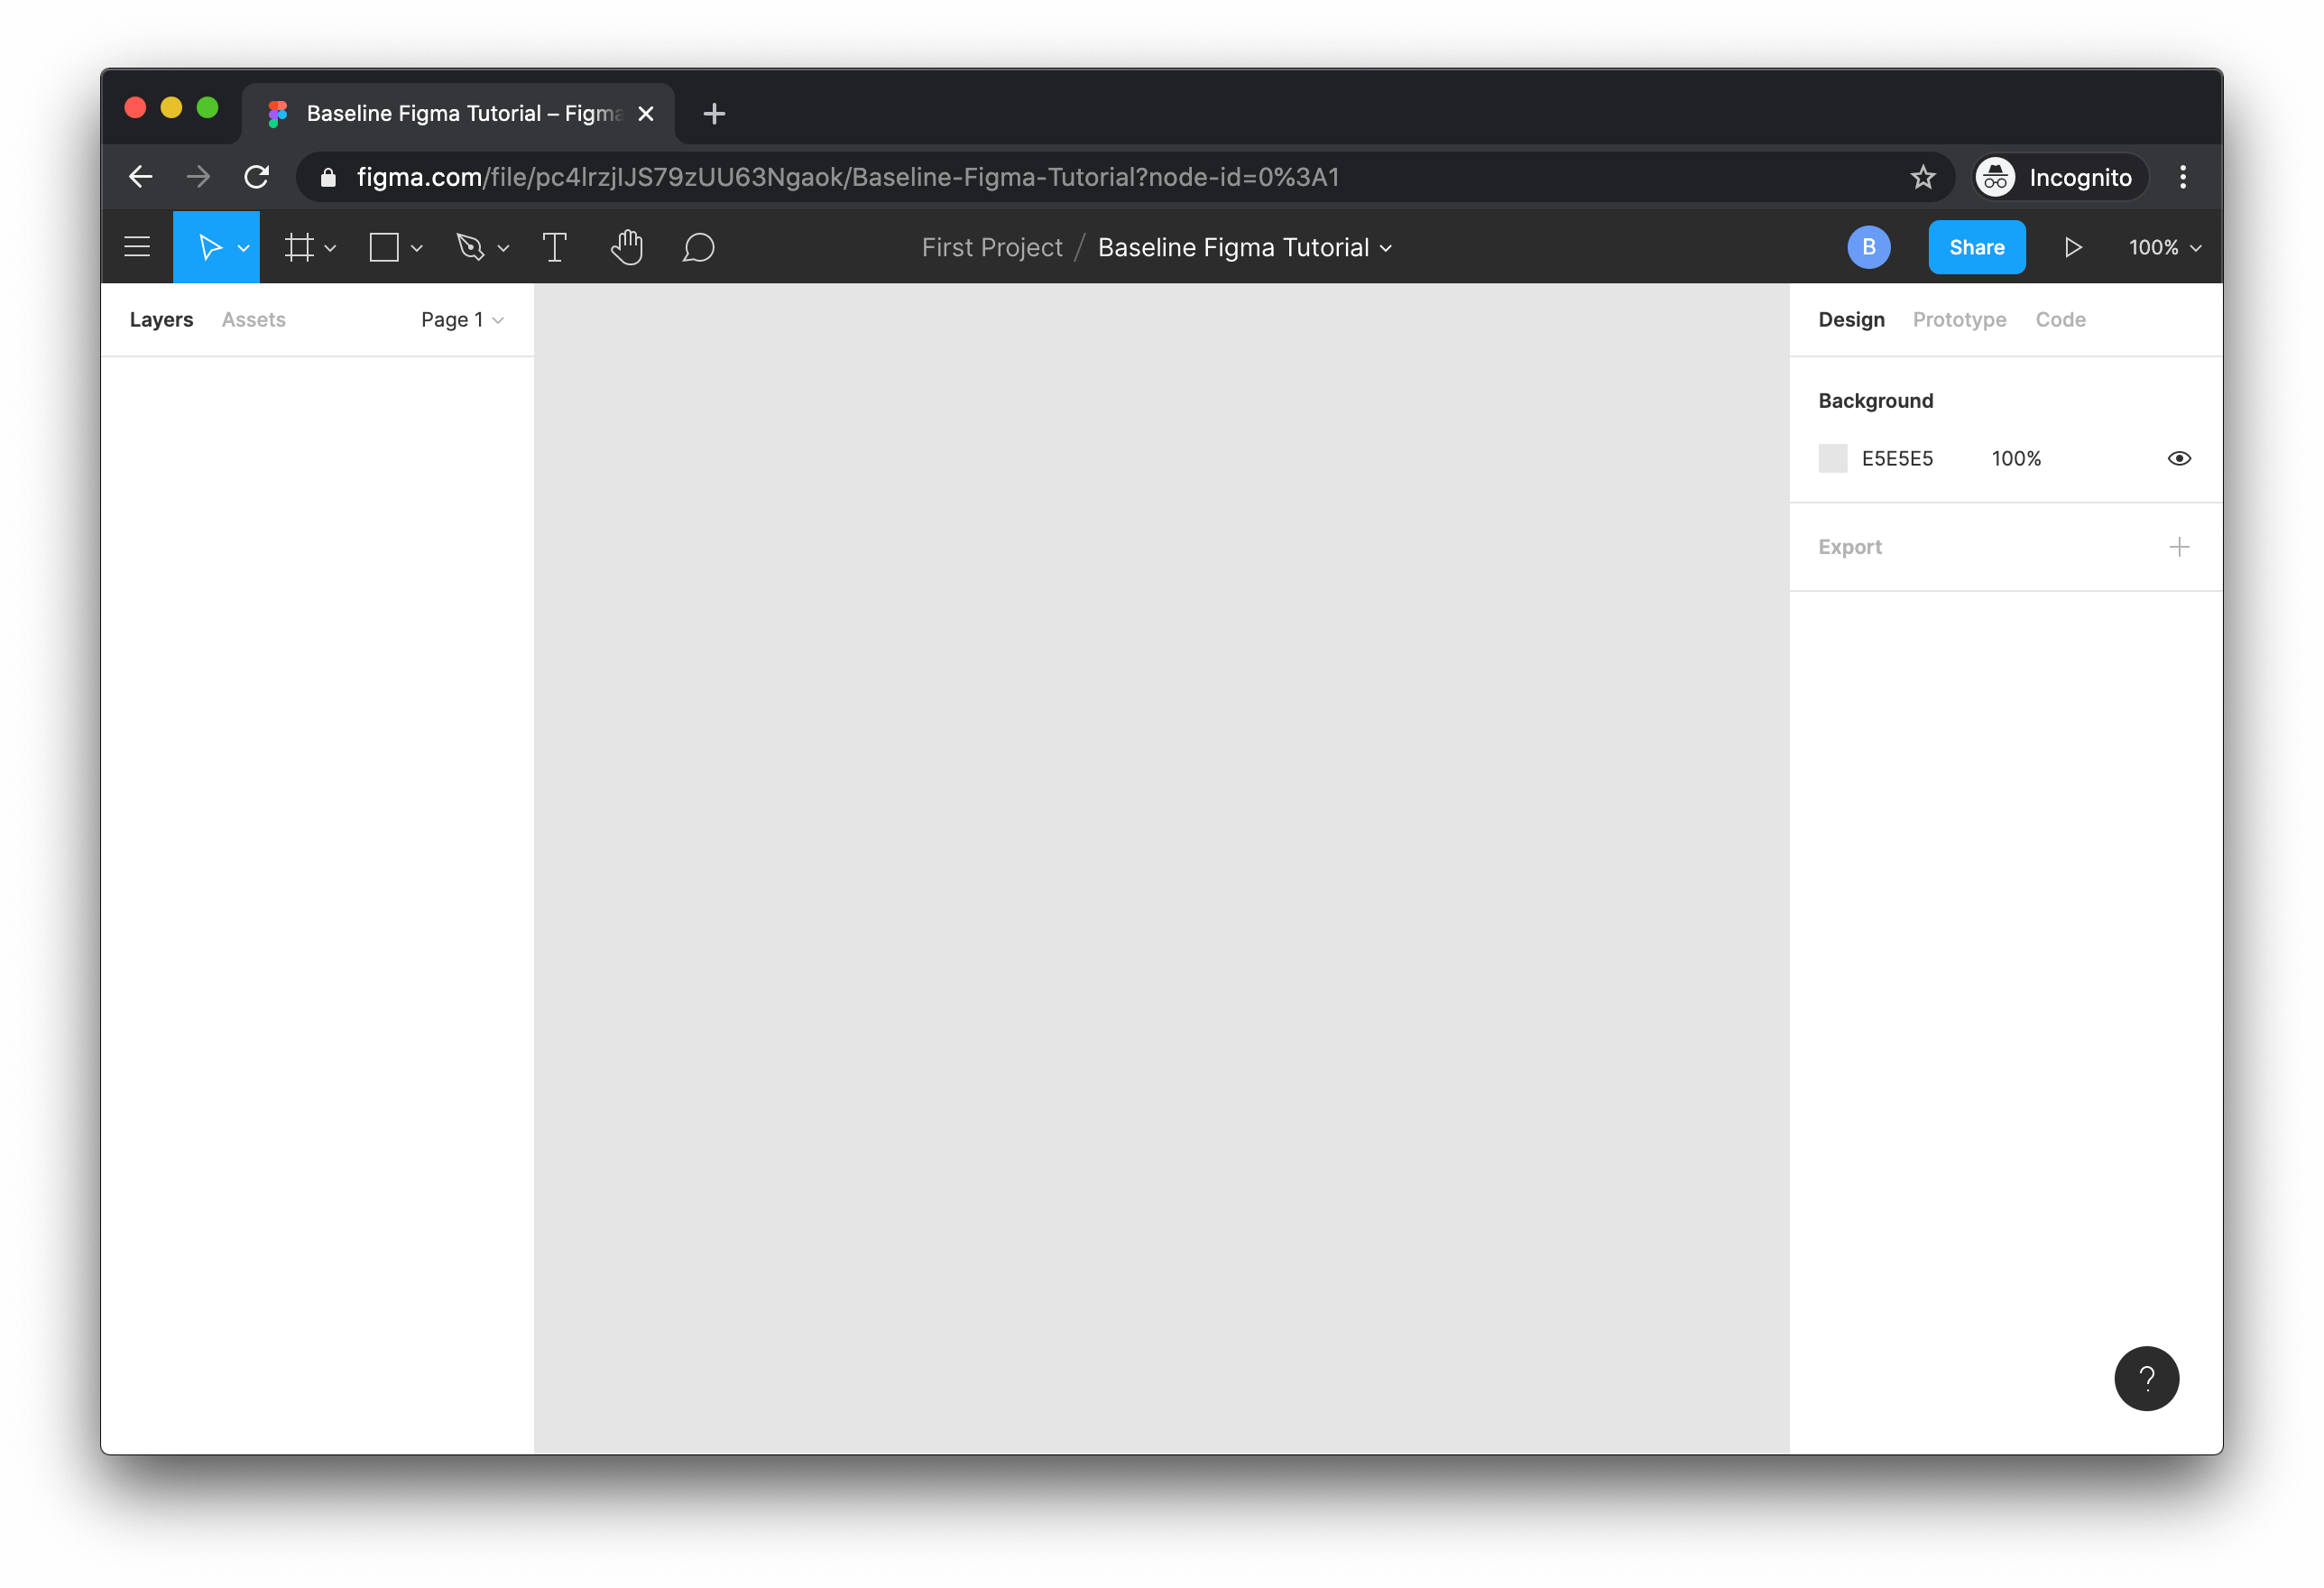
- When your new Figma file has loaded, click “Untitled” at the top of the screen, and give it different name, try year_day_month_Namefigma1
![]() 3.23.
3.23. - Click the symbol near the top-left of the screen that looks like a hashtag. This selects the Frame tool. Alternatively, you can press F on the keyboard.

- Finally, from the options on the right of your screen, click “Paper” and then “A4”. You now have a new frame to work in. (If you’ve used Sketch or Illustrator before, a frame is basically the same as an artboard.)
2
![]()
Try out the shape tools
- Find and click the button for the shape tools in the toolbar at the top of your screen. You can also use your keyboard to access these directly: R for rectangle, L for line, shift L for arrow, and O for ellipse (oval).
- Try creating some shapes in your A4 frame using the rectangle, line, arrow, and ellipse tools.
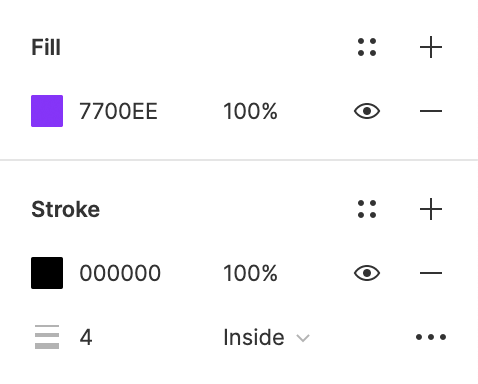
- With a shape selected, experiment with the fill and stroke settings in the panel on the right of your screen.
3
Try out the text tool
- Find and click the button for the text tool in the toolbar at the top of your screen. Alternatively, you can just press T on your keyboard.
- Try creating a text box and typing in some text.
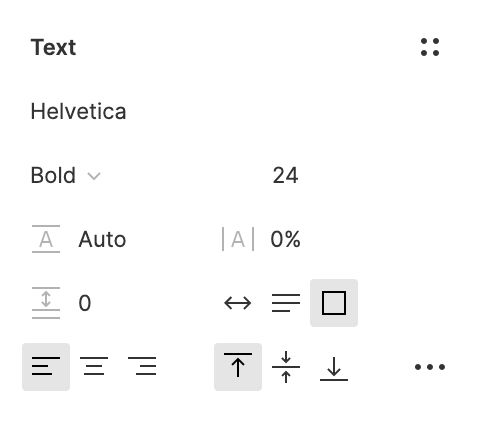
- With a text box selected (or some text within that box selected), experiment with selecting different fonts, font styles, and font sizes, again using the panel on the right of your screen.
4
Experiment with Boolean groups
These sound scarier than they are! In Figma, you can use Boolean groups to unite two shapes, subtract one shape from another, create a new shape from the area where two shapes intersect, and exclude an area of overlap between two shapes.
Boolean groups are very useful, because they allow us to build complex shapes out of simple ones. This is particularly handy when making logos, icons, and illustrations.
Let’s start with the subtract command.
- Create two shapes, and then click and drag one of them so that it partly overlaps the other. Make sure that each shape has a different fill colour, so that you can see what is happening.
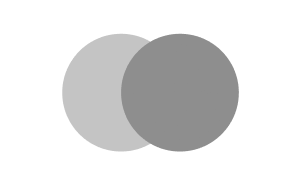
- Next, click and drag around both shapes so that they are both selected. You’ll be able to check this in the panel on the left of the screen.
- With those two shapes selected, notice that some new options have popped up in the top centre of the toolbar. Click the little dropdown arrow to the right of the third button.

- Click “subtract selection” from the dropdown menu. Notice how the top shape has been “subtracted” from the shape below it, and Figma has created a new shape in their place. This new shape shows up as a layer called “Subtract” in the panel on the left of your screen.

(You can rename the new layer by selecting it in that panel and then clicking it again, or simply by selecting it and pressing command R (Mac) or control R (PC) - Repeat this task with different overlapping shapes, and using the other Boolean commands: unite, intersect, and exclude. Here’s an example end result:
![]()
Extended Resources
Figma IntroductionUsing color
- HEX: “Hex color codes are one type of HTML color code that you’ll often hear referred to as hexadecimal color or hex. The reason to use hexadecimal numbers is it’s a human-friendly representation of values in binary code.” More info
- HSB: “HSB stands for hue saturation brightness, and is a far more human-friendly way of describing color.” More info
- HSL: “HSL stands for hue, saturation, and lightness.” More info
- Accessibility: “Contrast and color use are vital to accessibility. Users, including users with visual disabilities, must be able to perceive content on the page. There is a great deal of fine print and complexity within the Web Content Accessibility Guidelines (WCAG) 2 that can easily confuse web content creators and web accessibility evaluators. This article pulls together the terms and principles needed to understand WCAG 2 requirements for contrast and color.” More info
- Creating Icons in Figma
- How I create Icons in Figma
- Drawing Stuff in Figma - Graphic Design Crash Course

 3.23.
3.23.


